
I usually am not one to procrastinate. It just stresses me out to wait until the last minute. I even stress out about other people's procrastination. (Just ask John. When he was in grad school, he finally learned just not to even tell me when his papers were due.)
But, lately, I feel like I've been running, running, running and am still a few steps behind. So, this week, I found myself with new adorable lettuce sprouts and a forecast of freezing temperatures. Ahhh!
I had to construct the cold frame and I needed to do it . . . um, yesterday!
I set to work to create this.
Here's what I did:
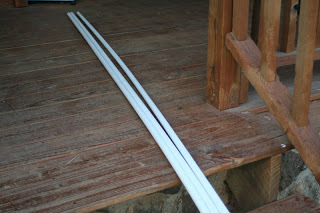
I started with 4 10 ft. pieces of 1/2" PVC.
I then cut one piece so that it was 8 ft. long. Since my covered-wagon design was intended to cover a 4'x8' raised bed, this 8 ft. piece would span the length. (The leftover 2 ft. piece became Little Boy's sword for the rest of the day and entertained him for hours!)
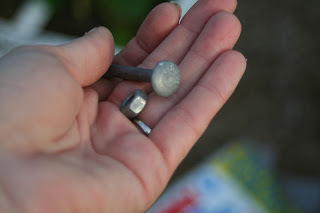
To screw the PVC pieces together, I used nuts and bolts. I was sure to use rounded edge bolts so that they wouldn't snag and tear the plastic sheeting that would be draped over the structure.
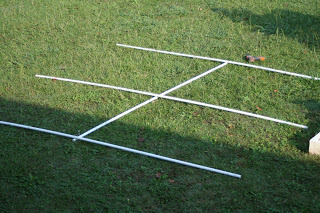
I screwed the 3 10 ft. pieces to the 8 ft. cross piece like this.
(Sidenote: At this point, I learned a very important lesson in physics. The lesson is this: Do not use 1/4" bolts to screw together 1/2" PVC. When you bend the pipes, they will break because too much of the width of the PVC has been compromised by drilling. When I learned this lesson the hard way, I cursed myself for procrastinating, got a phone call from John saying I needed to drop everything and go haul hay with him, told him I'd meet him as soon as I could but I HAD to make a quick run to the hardware store. I purchased 1/8" bolts this time and new PVC, went to haul hay for 3 hours, then proceeded to rebuild the cold frame in the rain, finishing just as the sun set. Uggghhh. Procrastination!)

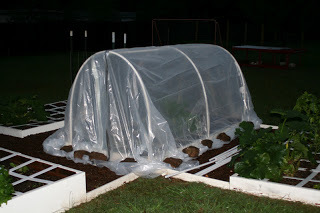
Once I'd learned my lesson, and reconstructed and installed the frame, it looked like this. (Notice how it's getting dark.)
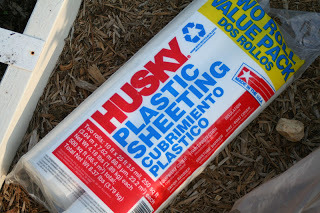
I then used this plastic sheeting to create a cover that will allow light in while protecting plants from extreme temperatures, much like a greenhouse.
I then used rocks to secure the plastic sheeting. These are easily removed for harvest and watering. Hopefully, this cold frame will allow us to extend our growing season a bit and continue to have fresh greens for a while longer. In the spring, it will also allow me to plant in this bed earlier than in others, cutting down on how many seeds I'll have to start indoors to get a jump start on the growing season. And, because it's only held together my 3 bolts, it can be easily stored when it's not needed.
If I hadn't had my little mishap, the project would've cost me about $25 (in reality, it cost me $40). Oh, well. You live and learn.