
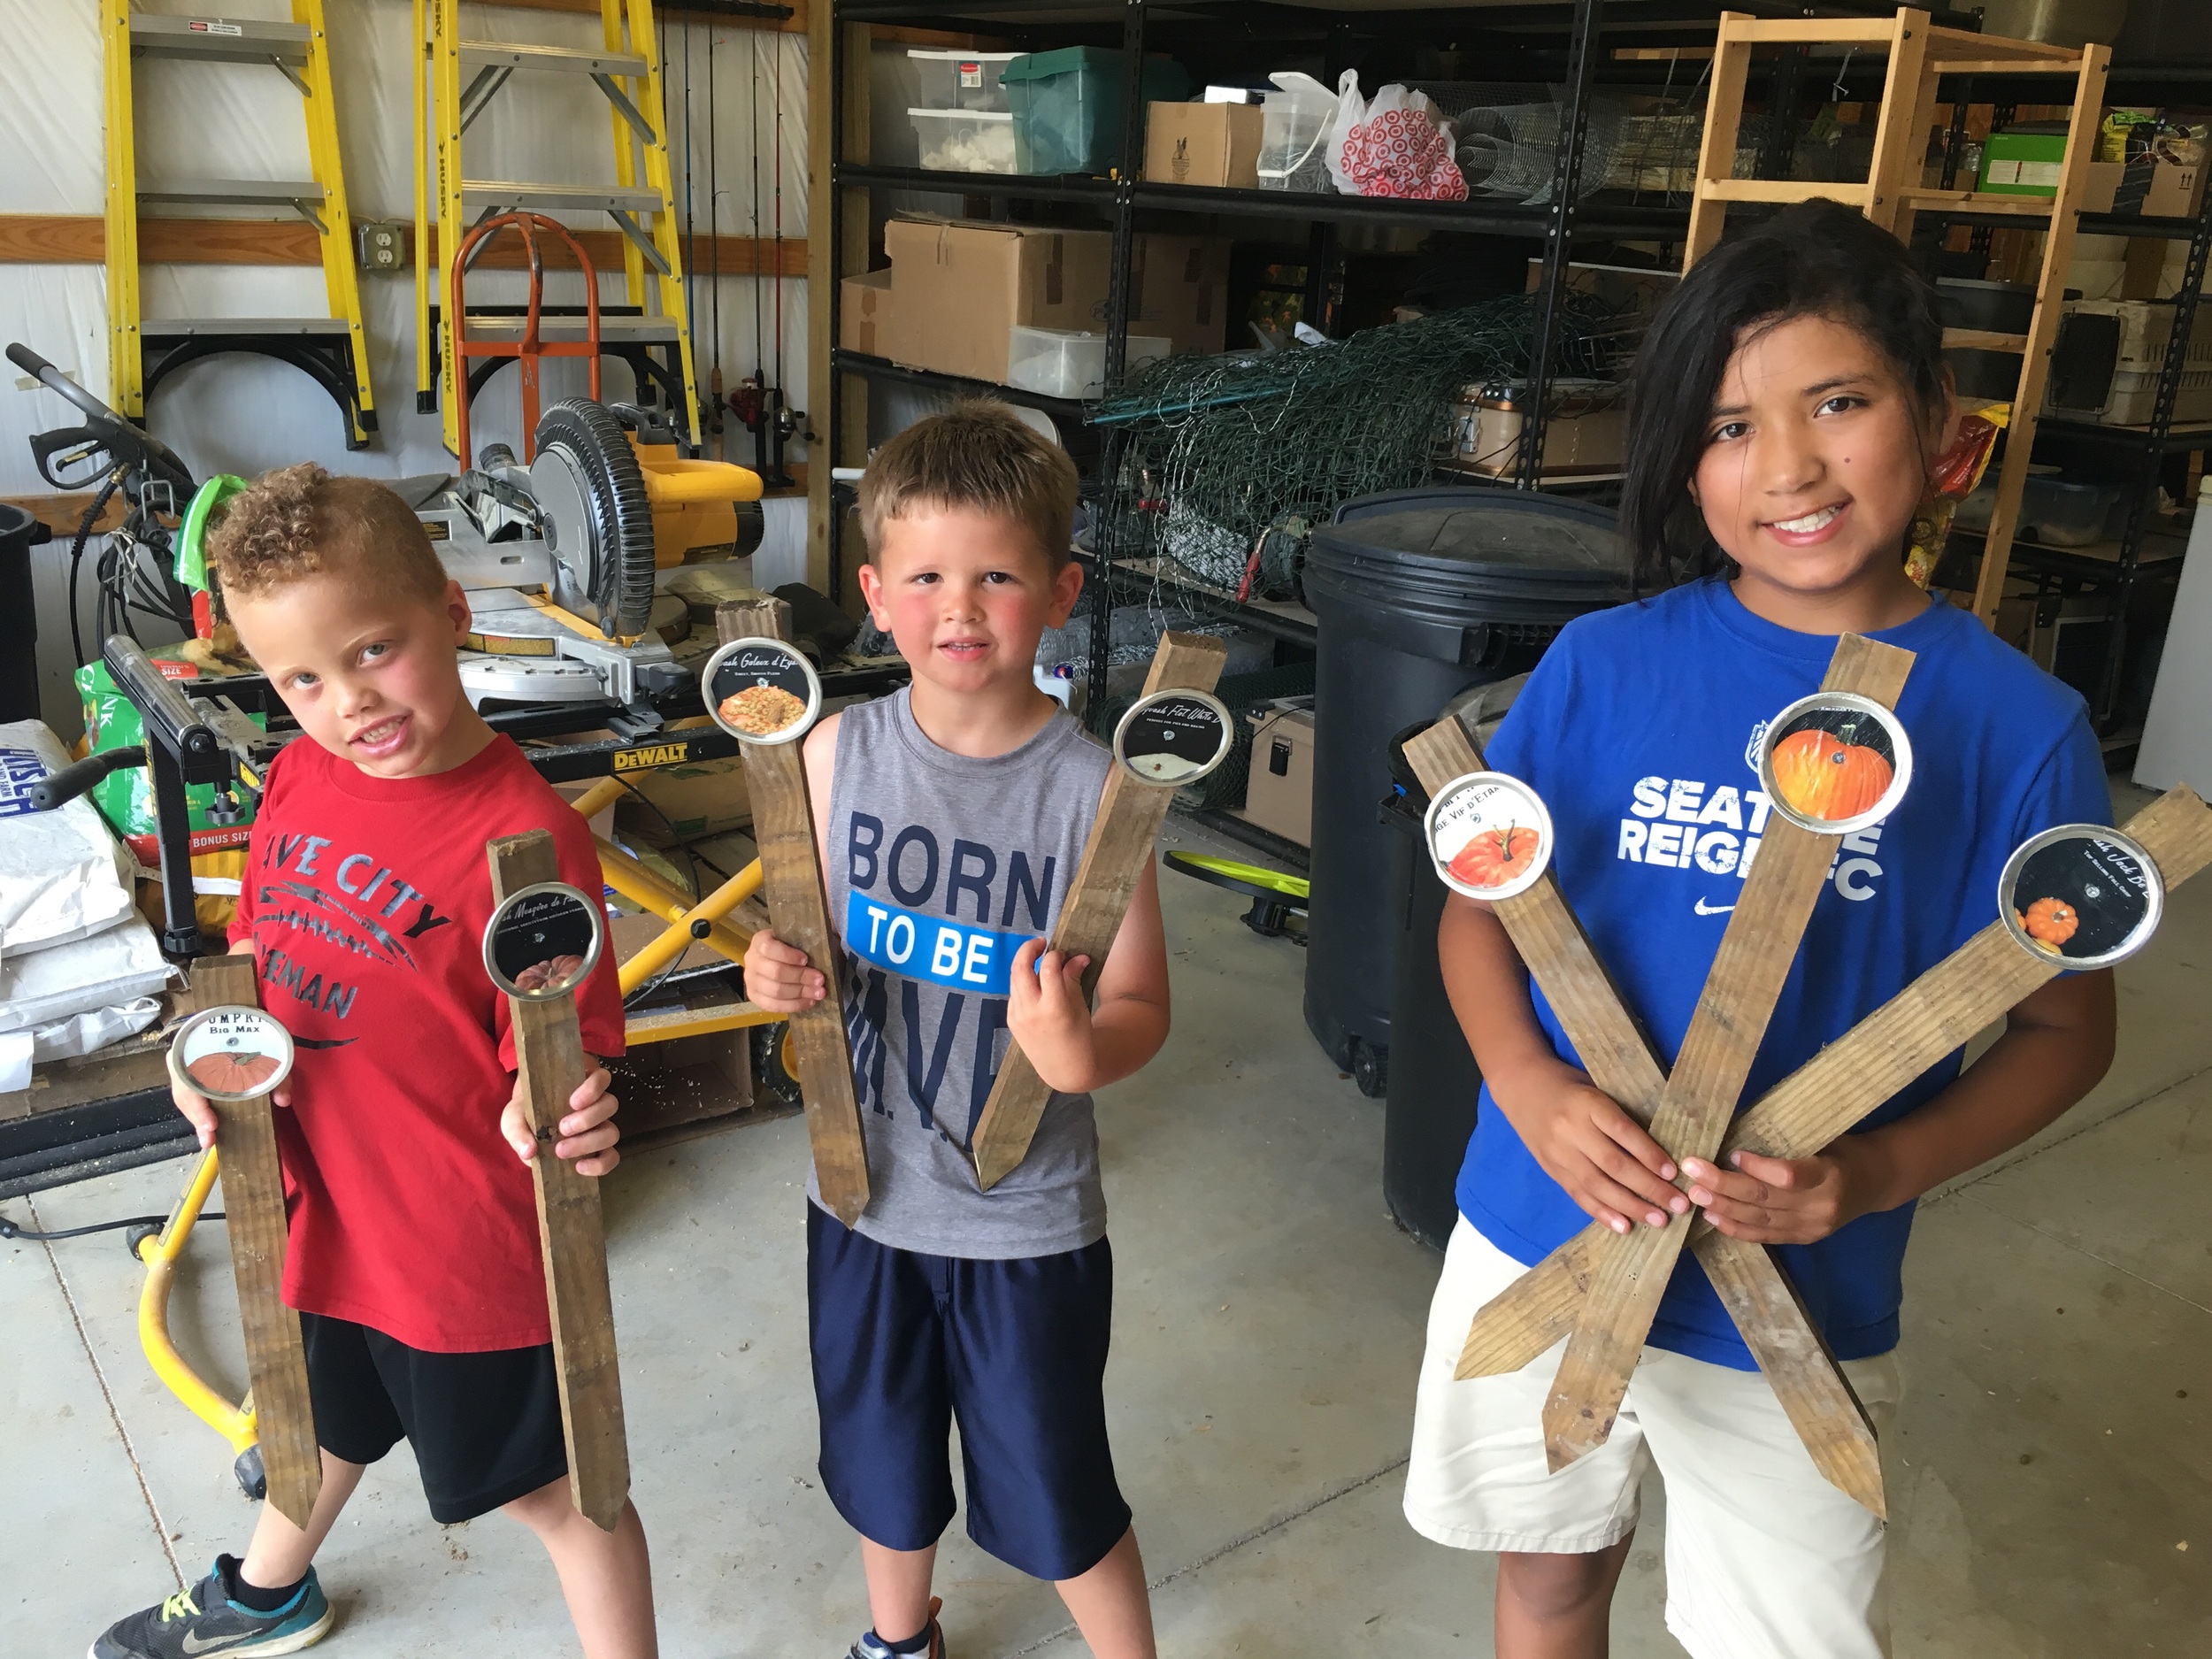
About three weeks later than I'd planned, the pumpkins have finally been planted. (Where did June go, y'all?!) While our cousins were with us this week, we crafted a bit and made these plant markers to keep the varieties clearly marked in the field. We used old canning lids, the seed packets themselves, some Mod Podge, and scrap wood for the stakes. Pretty simple.
Meanwhile, I sent out an all-call on Facebook for old feed bags and my AMAZING Facebook friends gathered ONE HUNDRED AND FIFTY of them for me. Oh. My. Assembly-line-style, the kids and I pulled the strings out of the bottoms, slit them down the sides, and opened them up flat to use as mulch/weed barrier in the field.

We laid them out, covering the walkways. We used these last year with great results. I actually used a combination of old carpet, feed bags, newspaper, and cardboard last year. The newspaper didn't do so well, but the other three worked great. I'm not as big a fan of the carpet, though, because it doesn't compost. We topped the bags with enough old hay to hold the bags in place.
Then, we assembled the brand-new-to-me drip line system. I'd been nervous about this and allowed a lot of time for figuring it out. But, after watching a quick YouTube installation video, we put the whole thing together in 10 MINUTES. For those who (like me) are relatively unfamiliar with drip line, what you're seeing below is the header line running from the spigot and along the top of each row. This is basically like a hose. Then, the drip lines are connected to the header line and run down each planting row. We used drip line that has a hole every 12 inches because we intended to plant our seeds 12 inches apart. In fact, to plant, we turned our drip system on for 10 minutes, then planted seeds in all the wet spots it had created. Easy peasy. Sunny approves.

Here's an up-close view of where the header line connects to a drip line. We used stakes to hold our lines in place. So far, the system is working smoothly and watering evenly down the entire length of our 100-foot rows.

And, I saved the best part for last. Yep, that's a timer. As in, I watered the pumpkin field IN MY SLEEP. I set it for what time I wanted it to come on, for how long I wanted it come on, and how frequently I'd like it to repeat the watering. Then, I went to bed and woke up to a freshly watered pumpkin field. All the other stuff extending from the timer are, in order, a backflow preventer, in-line water filter, pressure regulator, and hose fitting/header line adapter. It sounds complicated, but I'm telling you -- 10 minute set-up! Plus, several drip line vendors offer complete kits to get you started so that you don't have to have a complete understanding of all the parts up front.

By dripping water directly where we need it rather than broadcasting it willy nilly with a sprinkler, we will be saving SO MUCH WATER this year! I'm telling you, this drip line stuff is a game-changer! So, how could I not share with you, dear friends, the magic of drip line?
(That said, if any of you knew about the magic of drip lines and have been keeping it from me, you'd better just keep your mouth shut now. Anyone who's whispering about drip lines behind my back while I'm hiking my hot self out to the pumpkin field every 30 minutes all summer to move sprinklers around, is no friend of mine!)