"What you preserve is the cheeriest momento mori. It is a way to say and mean: of everything that passes, this is what I choose to keep. It is a clear reminder, there for the tasting, or where and when and how you lived."
from Tamar Adler's An Everlasting Meal
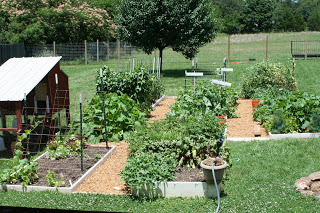
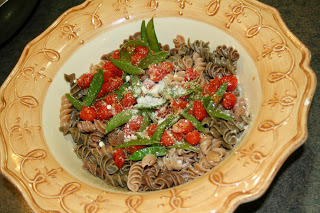
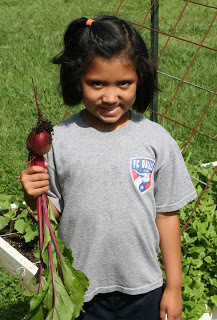
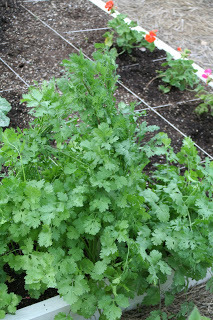
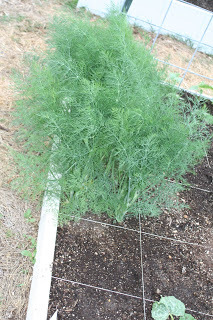
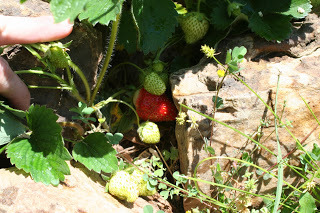
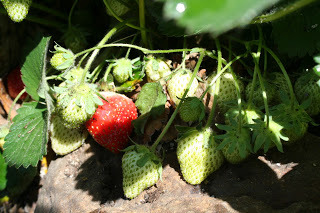
 Of course, I love the fresh veggies that our garden provides us. Yesterday, I snapped a cucumber off the vine, rinsed it with the garden hose, then munched on it while I walked the back field with the goats, sharing the stumpy end of it with a very thankful Razz. That type of experience is hard to beat.
from Tamar Adler's An Everlasting Meal
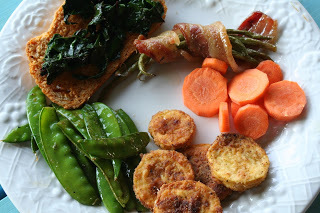
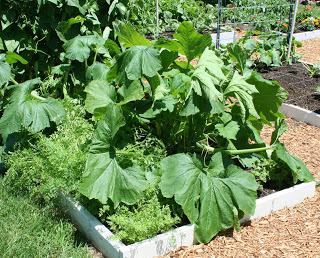
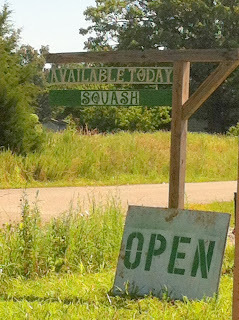
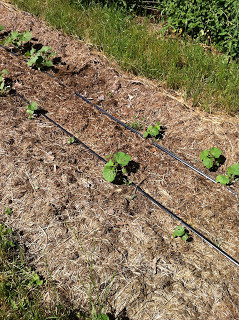
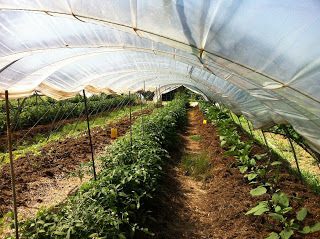
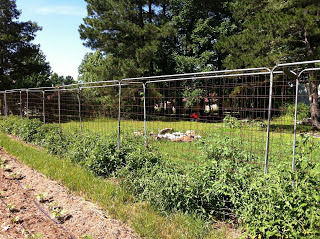
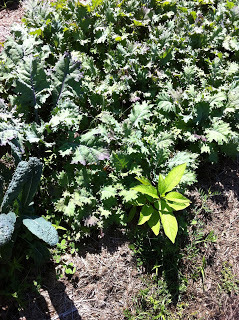
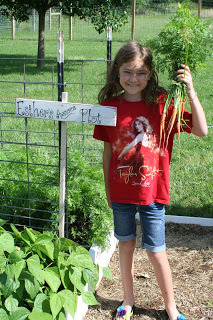
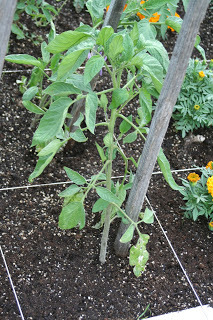
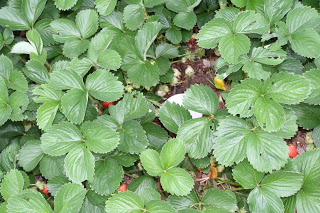
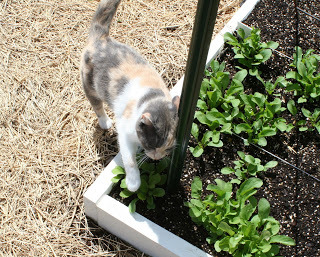
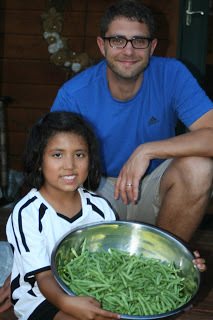
Girl 2's green bean patch is loving life right now. We prefer our squash, zucchini, and sugar snap peas fresh rather than preserved for later use, so while those are filling our dinner plates, we're mostly saving our beans for later.
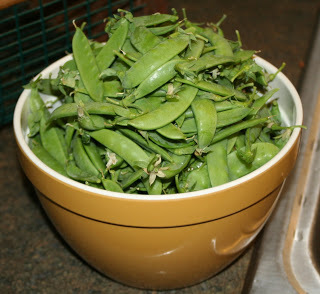
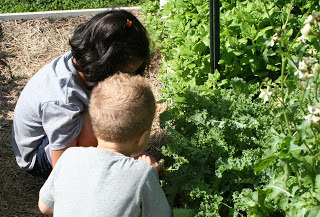
We snapped all of our beans together on the the front porch. It just seems right to keep up the old tradition of front porch snapping. When I tried to explain to Girl 2 that we were keeping an old tradition by snapping beans on the porch, she said, "oh, so that you can watch the cars go by while you're working, I guess."
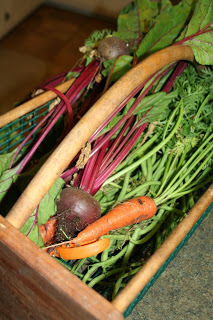
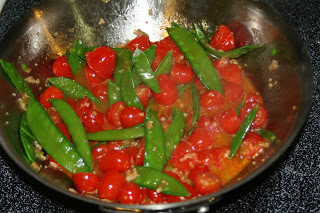
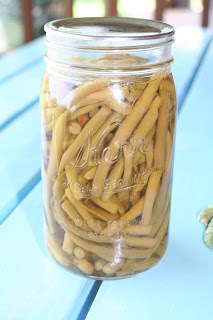
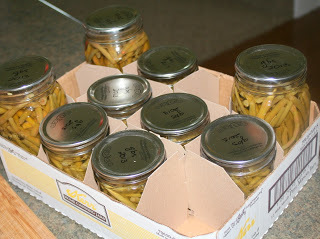
But, seeing all the jars of preserved food lined up neatly in the pantry runs a close second. Just knowing that long after the garden beds have returned to their winter slumber, we'll still be enjoying the bounty of the harvest is comforting in a way that I'm sure we can only imagine today. Back in the days when people weren't watching cars whizz past as they snapped their beans, I'm sure those beautiful jars brought a sense of security -- an ability to rest in knowing that as the days once again shortened, the table would not be empty.
Now, for a little teaser. Don't miss tomorrow's post! I'm so very excited to be featuring my first ever guest blogger. I don't want to give too much away, but be sure to check back in tomorrow and read a touching column title "Living with Perspective." And, speaking from experience, remember that the best way to show your appreciation of a blogger is to leave a comment! Let's show our guest some love tomorrow. If you enjoy the post, let her know! :)